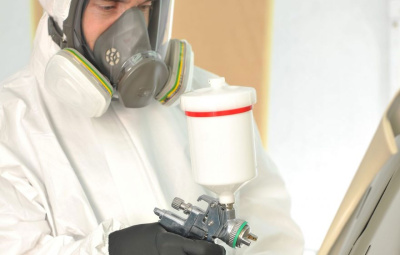
The repair process
Repair Process III
Part repair, damage and reconstruction of anticorrosion protection using epoxy primer
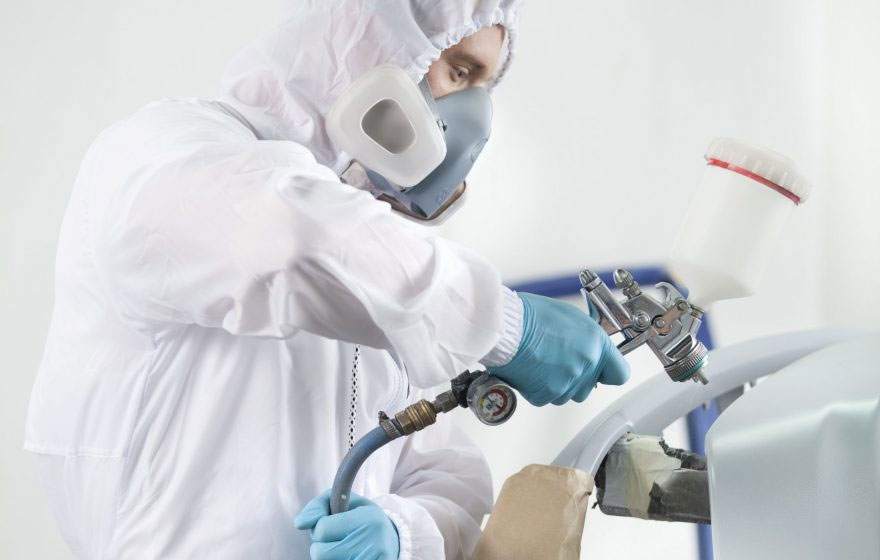
1. Tools needed for the repair
- InterTroton or Master silicone remover
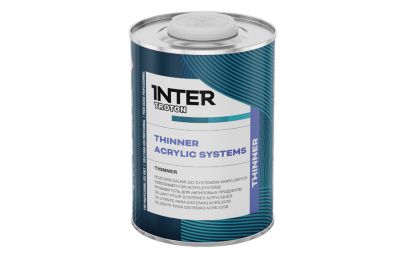
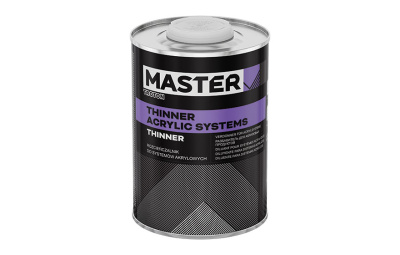
- InterTroton or Master thinner for acrylic products
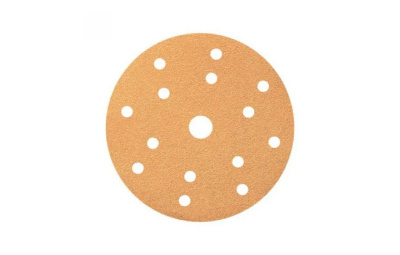
- Sand paper (for the beginning, for dry) P120-P320, finishing P400-P500 (for dry) P800-P1200 (for wet) for the machine, grindstone, mechanical equipment (see the substrate preparation), containers to mix products
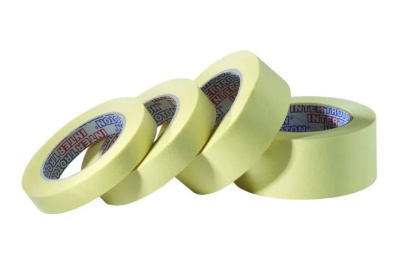
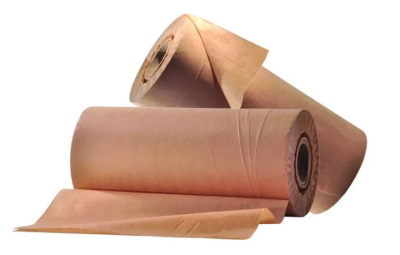
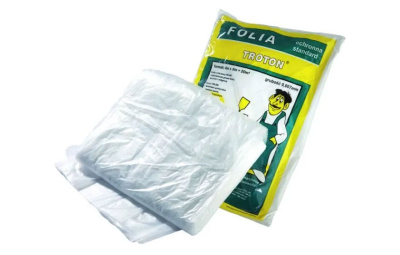
- Varnish tape, paper, cover foil to protect a vehicle (parts which are not repaired), antistatic cloth
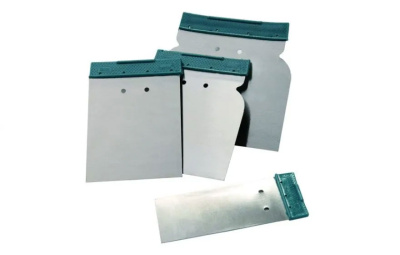
- Japanese putty knives to apply polyester putty
- InterTroton or Master putty
- InterTroton or Master epoxy primer (used as anticorrosion and septal base)
- InterTroton or Master acrylic primer
- Base coat (colour)
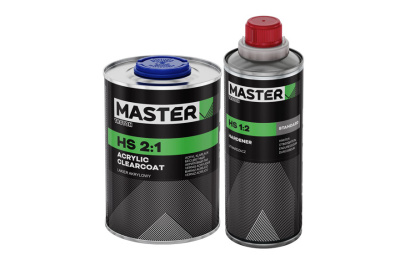
- InterTroton or Master clearcoat
2. Step by step process
Substrate preparation
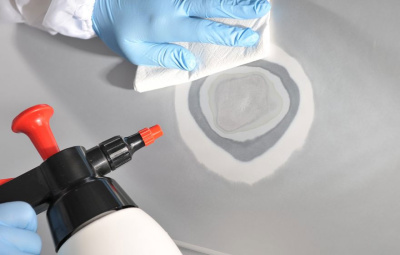
- On a repaired part, do a thinner test (substrate preparation)
- If the result is positive – remove old coating up to bare steel, if negative – you can follow next steps in the process
- Remove dust using compressed air
- Clean the repaired part (silicone remover)
- Cover not repaired parts
- Sand a damaged part starting from a sand paper P120 – P180, remove corrosion thoroughly mechanically or manually (see substrate preparation)
Epoxy primer application
- Using compressed air, remove dust,
- Clean the repaired part with silicone remover
- Where steel is cleaned from corrosion in parts or the whole panel, apply InterTroton or Master epoxy primer (according to the Technical Data Sheet of a product)
- Sand the epoxy primer in a part where polyester putty is to be applied (sand paper for dry P180-P220)
Putty application
- Remove the rest of dust and pollution, using compressed air
- Clean the repaired part with silicone remover
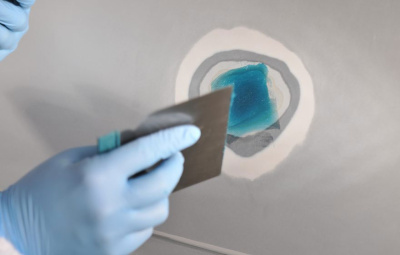
- Apply polyester putty in two layers with a correct time of drying (according to the Technical Data Sheet of a product). If there is roughness, polyester putty with glass or carbon fibre should be applied first and then filling or finishing putty from InterTroton or Master brand.
- Sand the putty with the sand paper P120-P180 at first, finishing with P220-P320
Epoxy primer application
- Using compressed air, remove dust and pollution
- Clean the repaired part with silicone remover
- Cover not repaired part
- Clean again with the silicone remover, after a thorough evaporation of the remover
- Apply the same epoxy primer which was used earlier, use it as a divider-isolation in sanded places (putty-steel), after a correct time of drying, wet on wet or with sanding (according to the Technical Data Sheet of a product)
Acrylic primer application
- Then apply InterTroton or Master acrylic primer, which was used earlier (according to the Technical Data Sheet of a product)
- After hardening, sand with the sand paper P400-P500 (for dry sanding or manual) or P800-P1200 for wet (sanding the surface on wet, remember to remove water straight after sanding). We recommend sanding on dry.
Clearcoat application
- After a correct time of base coat drying (see manufacturer’s Technical Data Sheet) (using antistatic cloth, wipe dust or impurities from the surface)
- Apply clearcoat (1,5-2 layers for VHS clearcoats, 2 layers for MS, HS clearcoats), see Technical Data Sheet for using a product
3. Warning!
- Use only original products recommended by a manufacturer
- Follow Technical Data Sheets of a product
- Dry processing of materials is recommended
- During works, use personal protective clothing
- Use IR infrared searchlight which is to speed up the drying process of materials
- The temperature and moistness are crucial for products and the repair
- On reactive primer, do not apply polyester products (putties, primers)
Use the products
 Silicone Remover
Silicone Remover
Silicone Remover
 Thinner for Acrylic Systems
Thinner for Acrylic Systems
Thinner for acrylic systems
 15-hole abrasive discs
15-hole abrasive discs
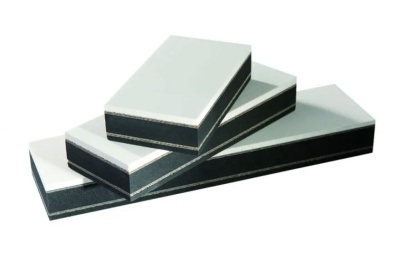
 Foam sanding block
Foam sanding block
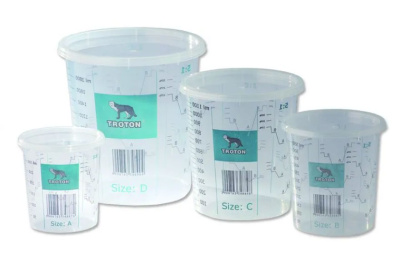
 Graduated paint cups
Graduated paint cups
 Paint tape
Paint tape
 Protective paper
Protective paper
 PE-HD protective film
PE-HD protective film
 Flip flop spatulas
Flip flop spatulas
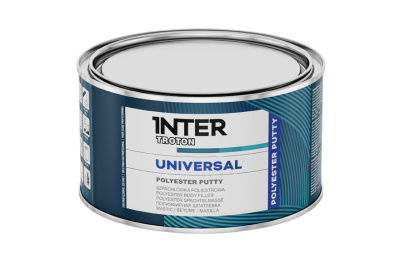
 Universal
Universal
High filling polyester body filler
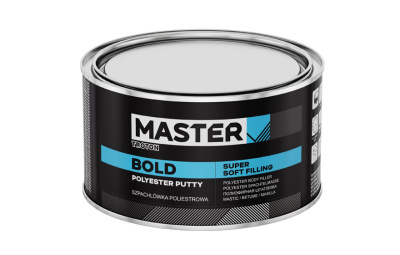
 Bold
BoldBold
Super soft filling polyester body filler
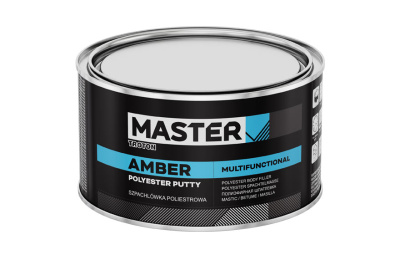
 Amber
AmberAmber
Multifunctional polyester body filler
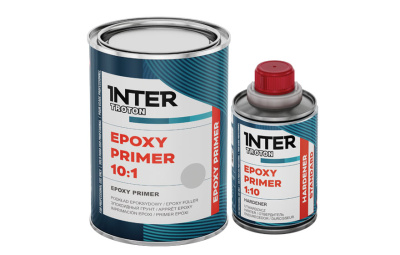
 Epoxy Primer 10:1
Epoxy Primer 10:1
Epoxy primer
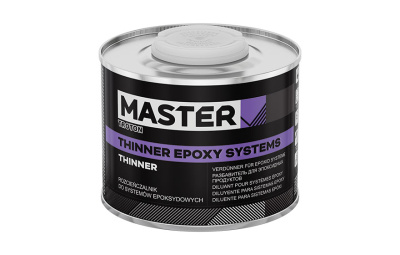
 Thinner for Epoxy Systems
Thinner for Epoxy Systems
Thinner for epoxy systems
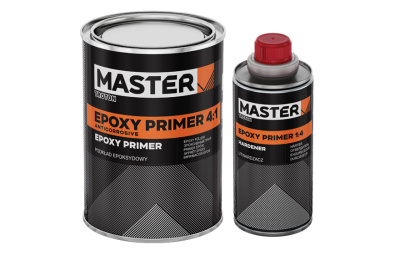
 Epoxy Primer 4:1
Epoxy Primer 4:1
Anticorrosive epoxy primer
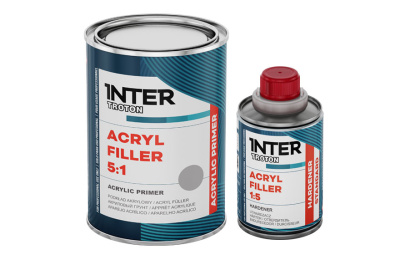
 Acryl Filler 5:1
Acryl Filler 5:1
Acrylic primer
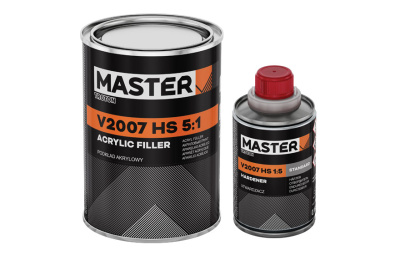
 V2007 HS 5:1
V2007 HS 5:1
Acrylic primer
 Thinner for Acrylic Systems
Thinner for Acrylic Systems
Thinner for Acrylic Systems
 HS 2:1
HS 2:1
Acrylic clearcoat
See also other articles

Prepare the substrate
The repair process
Prepare the substrate

Repair Process I
The repair process
Repair Process I

Repair Process II
The repair process
Repair Process II
